
In this section you will find lots of unusual tools to make your installation and maintenance of your tracks much easier.
We are frequently asked where in the world you guys came up with all these ideas. Well the truth is we recondition more tracks, switches, transformers, and controllers then anyone else we have ever heard of. In the process of doing all these refurbs we have found the need to improve the methods of how we work. Examples are how to tighten loose ties, how can we efficiently remove pins without damaging the rails. Why can’t we not only tighten the tubes for the pins but also close the gaps below the tubes. These are just a few examples.
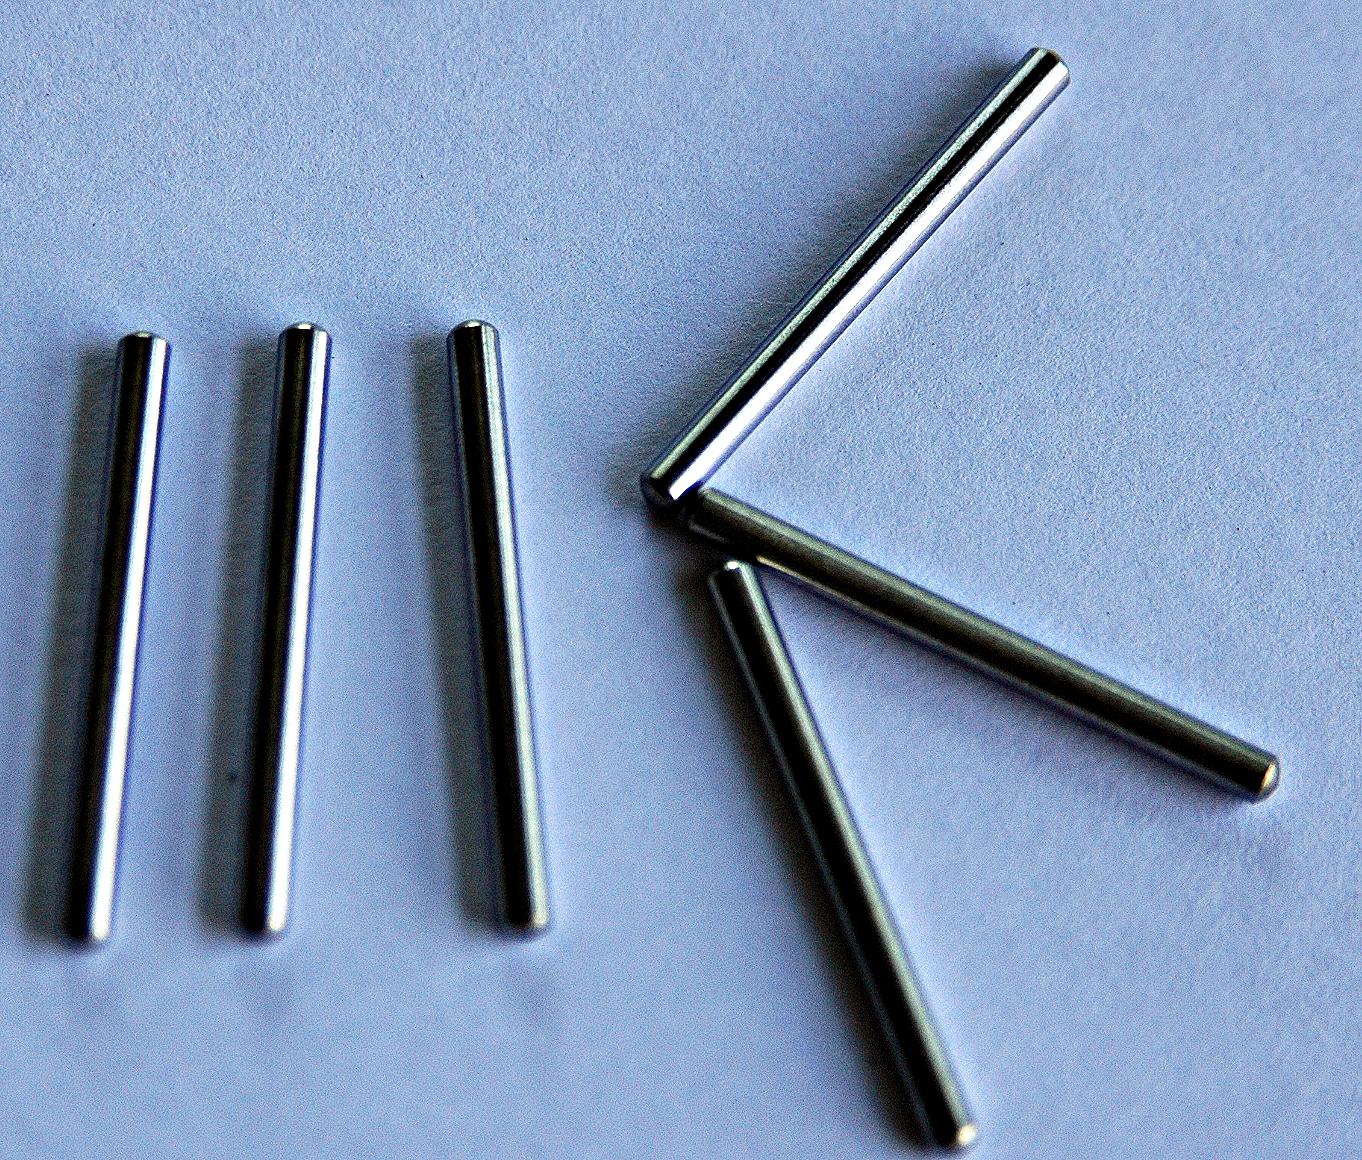
Pins
stainless steel O and O 27 track pins with advanced design
It has become apparent that the supply of good quality tinplate track is dwindling very rapidly. We at TinMan have taken the position of refurbishing track in such a way as to add new life to our “TinMan Favorite” line of refurbished track. We advertise these tracks, saying that with a minimal of care, your great great grandchildren will able to open a box of track, put it together and run trains on it. And why not? we currently refurbish track sections that are over 100 years old!
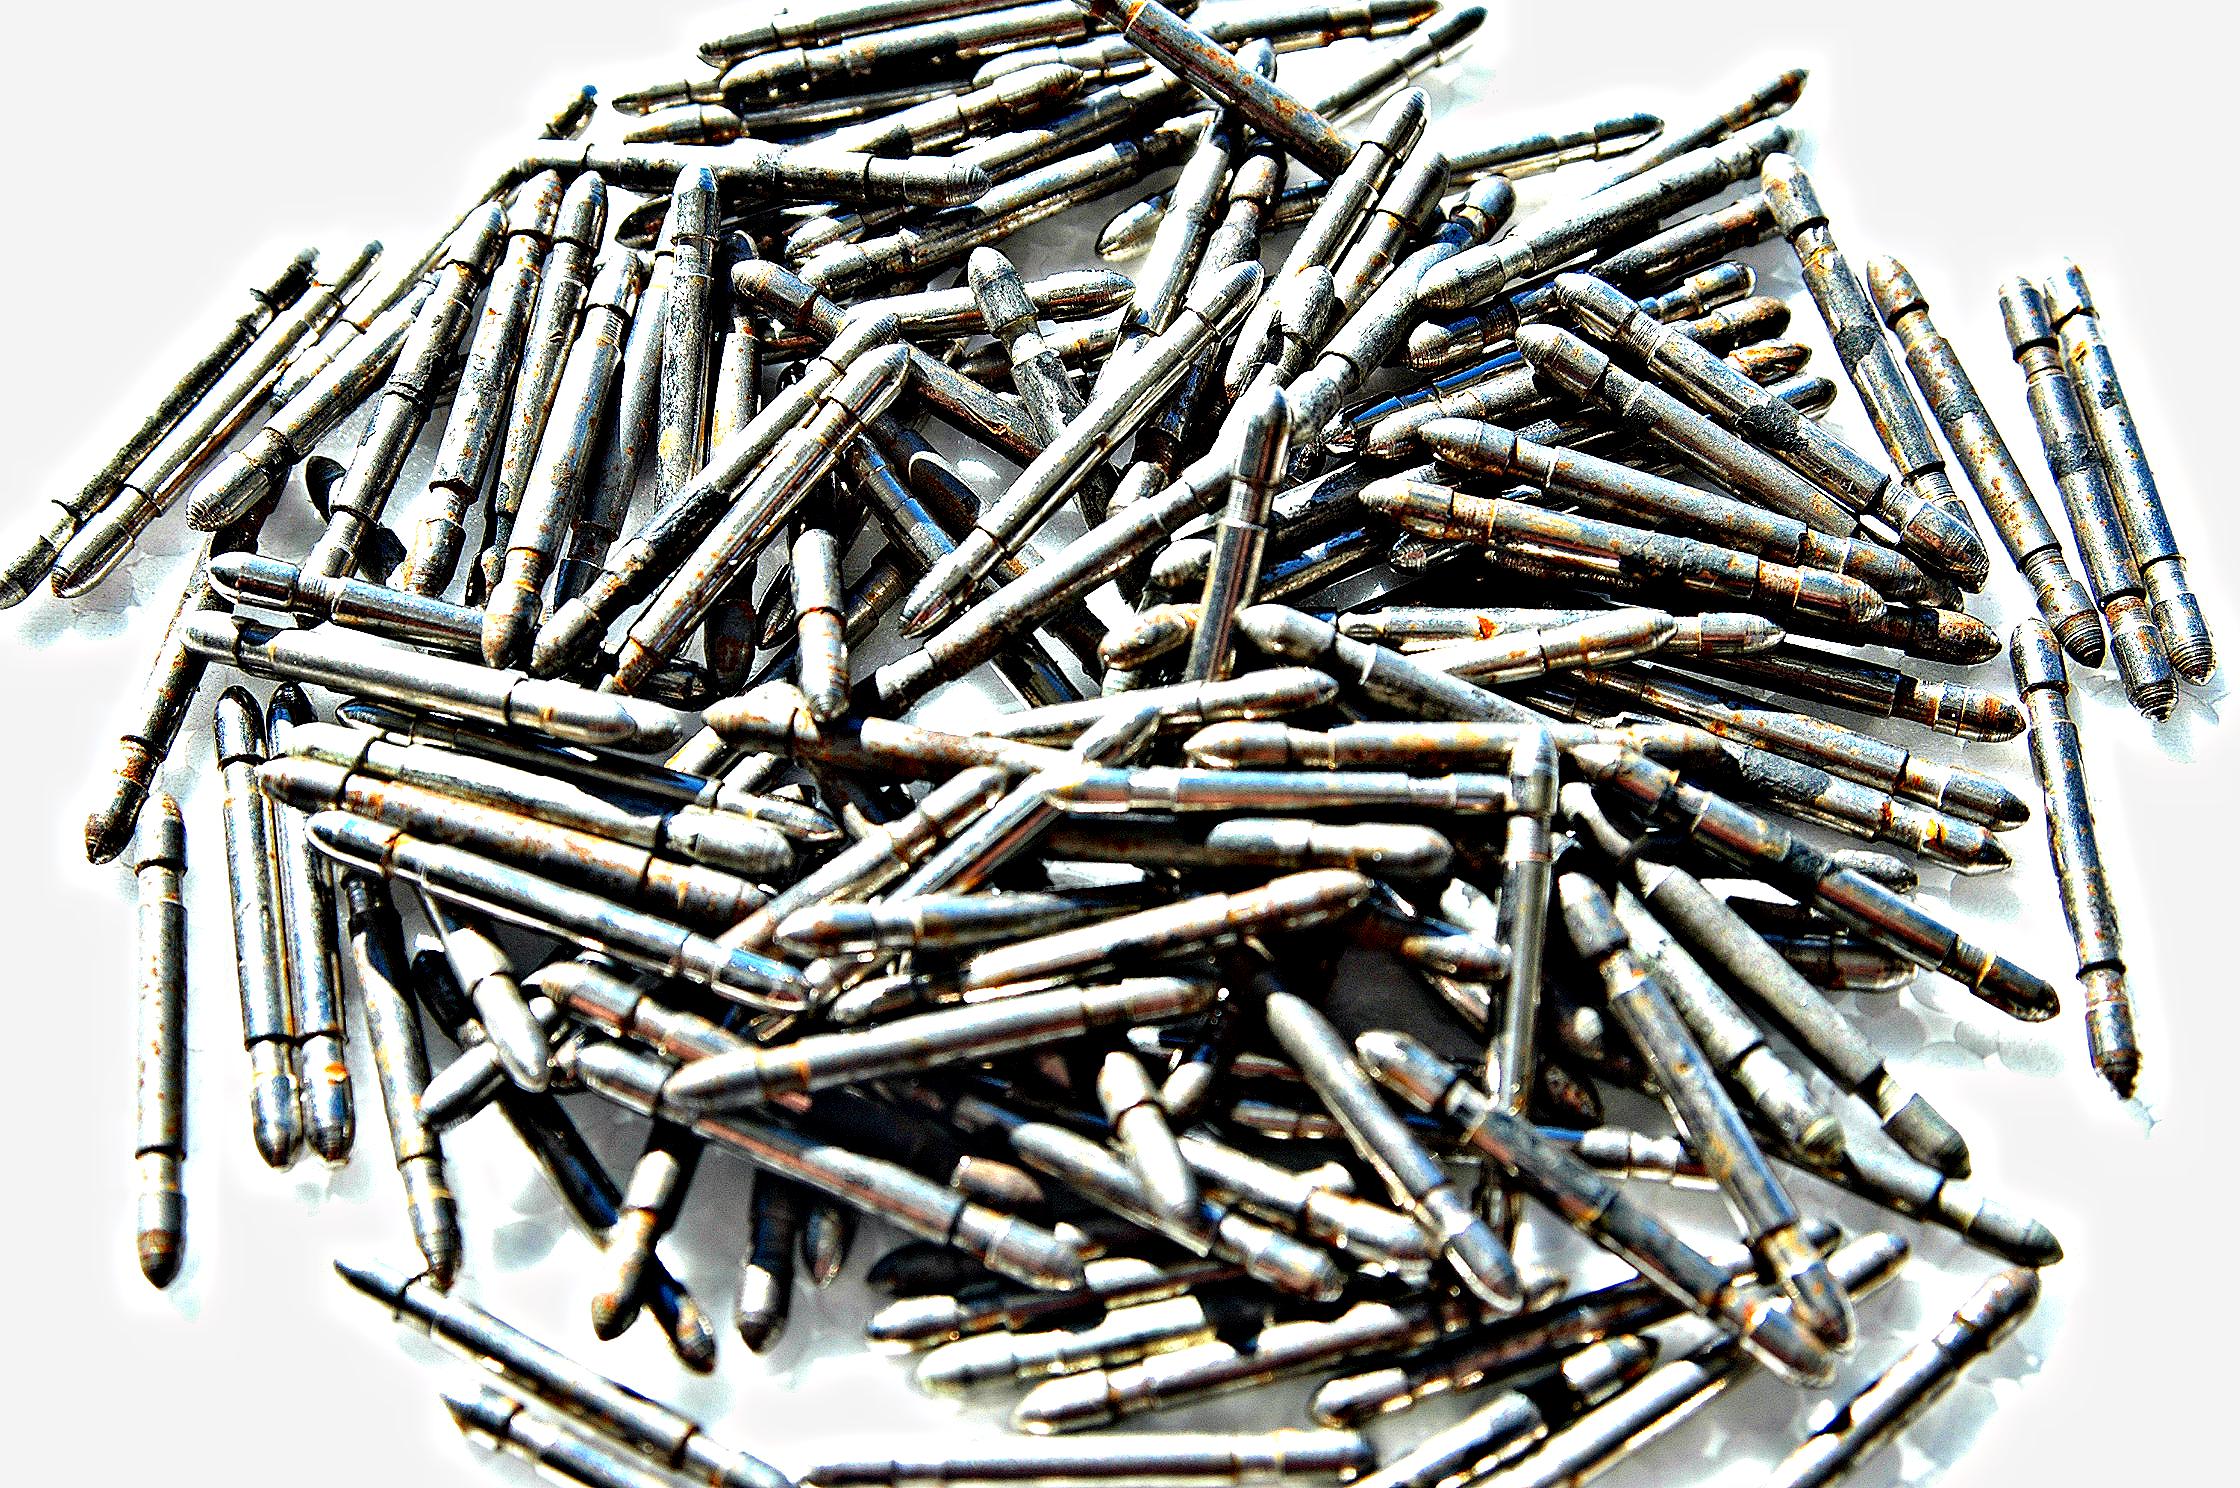
We thought we took every measure possible to insure this was feasible. Unfortunately, we overlooked an issue that all too many of us have had experience with. Cancer. Rust to metal is like a cancer to us. It finds a nice comfy place to settle in then grows and grows. Through all our efforts we have overlooked an obvious culprit in our process. The pins. The standard pins are steel with a very minimal coating, and once installed in a tight fitting track, generally will remove whatever coating it has.
The story:
One of our customers complained that he could not run his trains on our track. He had bought some bright and shiny track, but when he installed our TinMan favorite, it would not run. I asked him to return the track. The track in question looked fine, nice and bright on the tops of the rails, good current flow and continuity., until we checked current flow from a couple of the pins, and found we were losing almost 50% of the current*! The pin looked fine, nice and shiny, and clean. So we removed the pin and discovered it was completely rusted on the part of the pin that was inside the track! Meeting time! One of our staff mentioned that did not surprise her, because while checking and sorting, she would occasional notice pieces of track that were badly rusted right on the ends of the track. No big deal, she simply rejected those pieces and put them in the recycle bin.
*We do not check our tracks with continuity testers, because they do not indicate current flow capabilities. A wire less than a human hair thick will show perfect continuity as an example. So when we check we induce a 12V 3 amp source across the areas which we want to check.
So what’s the story with those slots in the original pins ?? Someone decided at some point that there needed to be a way to “lock” the pin inside the rail, so they added the slot(s) although only one was ever used. In the track production process they added a “squish tab” (a track production tech term) That would crimp the rail at just the right point to hold the pin in place. Worked great! no question about it, until we had a need to dismantle a layout and pull, twist or whatever the tracks to get them apart, which widened the tube openings, which not only made the crimp worthless, but the pin slots became a fulcrum and actually made the pins so loose they would no longer make a good connection. Somebody else must have figured out it was a bad idea, and consequently, the crimping process had been discontinued. So now the slot area was nothing more than an area that could not be used to conduct current. Ok, don’t need that.
The pointy ends. Why so long? the longer they are the less area for electrical contact, ok can fix that. The total length. After years and years of inserting, removing and reinserting the pins, the ends of the track have become somewhat loose. Sooo lets make a pin slightly longer so it will reach into virgin metal. Our track jigs automatically compensate for that. The length of the pins protruding from the track will be the same as they would be with the original pins.
The solution!! after months of design and re design!
Tapered *end for easy insert, an extra 1mm of length. No slots to waste contact area, and make sure we had a solid connection thru the whole pin. And!!!!! Finally, what about our initial issue with rust??? no problem 17-7 stainless steel material to the rescue!
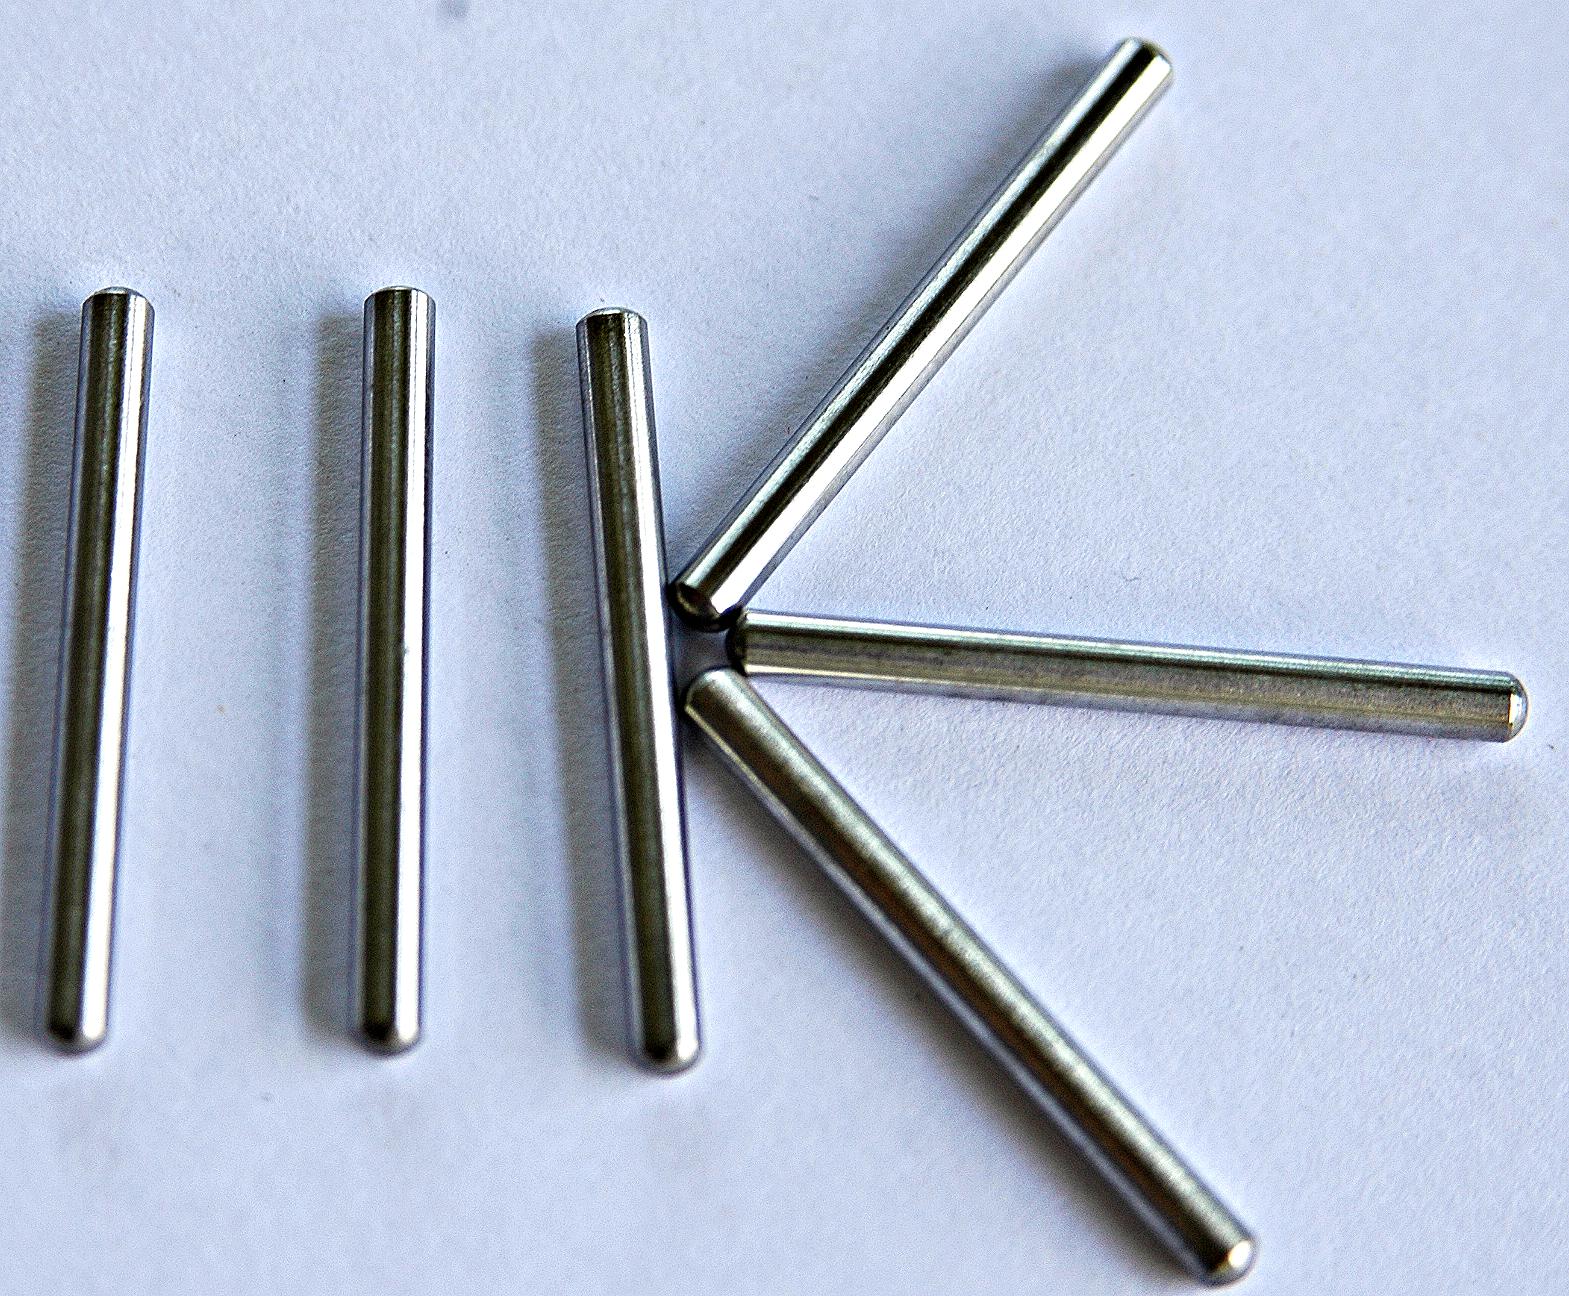
Cleaned and Polished Used O and O27 Pins
We Tinman3 rail have made a commitment to replace all old style pins with our new Stainless steel pins on all tracks on switches we sell
Well we recondition a lot of track, so guess, what we ended up up with! Yup lots of used O Gauge and O27 Pins. We have developed a method of cleaning and polishing the used pins we removed from the track we sell and can now offer them for sale at a real value price. This sale is for minimum of 100 good quality perfectly usable Original O gauge pins. So if you want to build a stock of very reasonable pins, here’s your chance. When packing if we see some pins that are less than pristine, we will add some extra pins, so don’t be surprised if you get more than the original 100 pieces promised.
Insulated Pins
Track maintenance tool kit

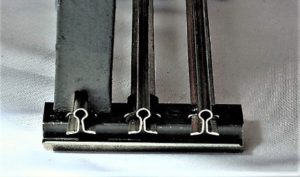
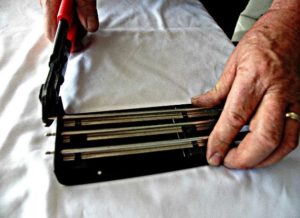
This kit contains all the necessary tools you will need to maintain your tracks and keep those trains running smoothly. The kit contains 1 9 ½” Track pliers, A spike to use to tighten down loose rails to the ties. A sample of insulators for the center rails, or for making insulated track sections. A 3-hole jig which is built to hold all 3 pins, and when the track is tapped into the pins not only sets the correct depth for the pins, but also will align the 3 rails so they are perfectly perpendicular to the ties. Finally, a “chunk” which is used to put under the tie, so when repairing, or tightening ties, you do not damage the rail tie. It is also very helpful in returning ties back to their original shape when a little over enthusiastic electric screwdriver is used.

The above picture shows the additional cuts in our track pliers which accomplish a number of things. First they enable the very wide jaw to crimp more of track to the proper diameter without damaging the ties, and they also reform the lower parts of the rails that often become opened from incorrectly removing pins, or taking tracks apart. The small tips are really handy when installing your own insulated track sections (see tech tip for this procedure). The extra parts make up a kit designed to give you everything you need to maintain and repair your O or O27 gauge 3 rail tracks, and once again bring them back as they were originally made.
We recondition 1000’s of pieces of track. As part of the process, we remove the pins, repair loose and bent ties, and after polishing, reinstall them into the tracks. We do this so many times we had to come up with ways to improve the quality and efficiency of these jobs. These items are examples of just some of the innovations we have created to better serve you, our customers. As always, we are willing to share our “trade secrets” to other fellow hobbyists.
Our newest solution to a production problem is, occasionally, we get a piece of track that was abused badly. The ties may be bent, and or the tabs that hold the rails down become loose. We had to come up with a more efficient method of dealing with these issues. We originally created the track tie pliers to take care of the issues but they had a lot to be desired, they would not do the center rails, and would bend the upright taps of the O27 tracks. Not anymore, with our custom designed tools!

Out with the old, and in with the new! Our track tie tool kit
We created the above pliers a few years ago and have sold hundreds of them. They worked well on the outside rails, but would not work on the center rail. They also would not work well with O27 track because of the down tabs present on those tracks. Another issue we had was trying to repair ties where someone had gotten a little too enthusiastic with a power screwdriver and crushed the tab flat. Time for something new. What we have come up with is a new system all together. The result of much time and research has finally paid off, and we now can offer this brand new item we worked up.
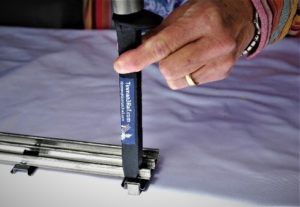
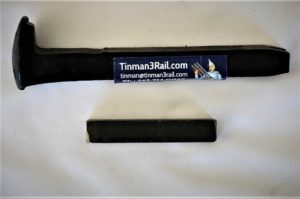
Track tie Spike Tool
This new kit, does everything the pliers did and more! It comes in 2 versions one for O gauge and one for O27. The difference in the 2 models is the small steel block. For O27 it is sized to fit inside the bottom of an O27 rail. For O gauge it is larger and will fit under the O tabs much closer. These new tools have cut our repair time for ties down by over 50%! Note the small plate under the tie in the photo. This tool will also repair “squished ties” (another technical term).
With them changing rails is a breeze as well as making your own insulated track sections. In the very near future we will be doing some application notes in the tech section with some illustrated how to’s. How do you like what we made the large spike from? Now if that’s not perfect for appropriate recycling, I don’t know what is! How’s that for some old fashioned Yankee ingenuity? Our thanks to our team members, Curt and Tony, who designed this new tool! OH yeah, almost forgot, the cost of these guys is less than 50% of what the track tie pliers were.
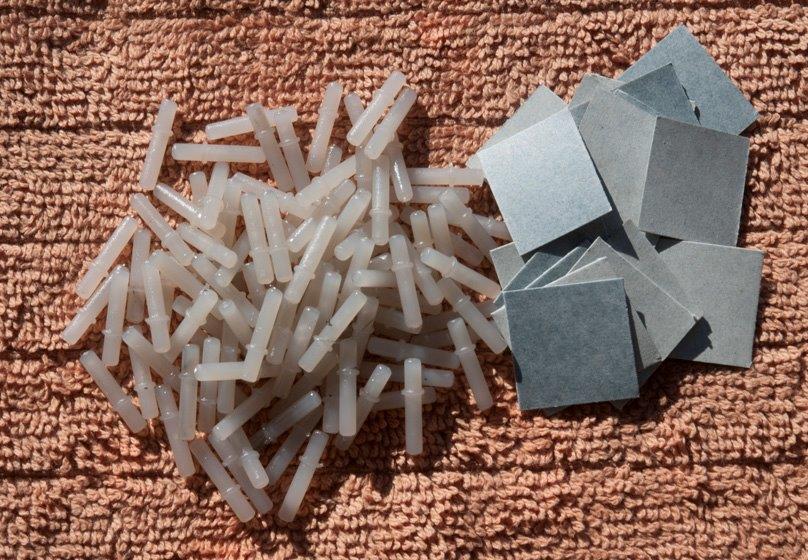
Track Insulators (50 Insulators)
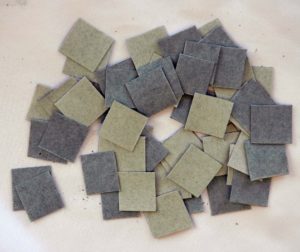
We at TinMan3rail have been building insulated track pieces for quite some time, and like you struggled to find a proper insulating paper to use. Lionel originally used a very heavy paper that was originally designed to be used as an electrical insulating paper.
See, there was no nylon, or plastic materials available back then, so someone came up with the idea of designing a very heavy paper material to use as a very good electrical insulator. Somewhere down the road, it was nicknamed “fish paper”. Someone said that this heavy duty paper was used to wrap fish that was purchased, from the “fish shops” The color of paper is a dark grey on one side, and a light grey on the other.
Lionel purchased the paper but then stamped out pieces of this paper and had it folded as part of the process to use on their automated track forming machines. We have been selling insulated track sections for quite a while, and struggling trying to find a proper insulating material. Finally, we have found a source for this old fashioned heavy duty electrical insulating paper. Since we have switched to this paper, our defect ratio has gone down to 0 failures, when making insulated track pieces.
We have invested in some top quality paper cutting tools, to cut this paper (comes in 50′ rolls) for our use. The width of the bottom of the rails for O and O27 is so close, we did not bother making 2 different sizes. The cost of this is quite reasonable, but the real issue is shipping cost, so we ended up figuring we might as well give you guys a lifetime supply. Thus why we are offering to you in 50 piece lots.
NEW Track pin JIG
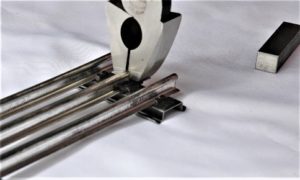
As part of our “I want our tracks to outlive your great great grandchildren” campaign, we have decided to include with every track we sell, our new Stainless Steel Pins at no additional charge. Talk about a nightmare!! All of you have experienced removing pins with a pliers or whatever, and bending the tubes as well as swelling them out, just to remove the pins. Try doing that for 10,000 pieces of track! Bill to the rescue! I remember very well, his removing a bunch of pins and throwing his pliers across the bench, and saying…. Got to be a better way!! So 2 days later he showed us his Brand new Jig designed to make removing track pins a piece of cake, and it worked like a champ. The pins just popped out without damaging the track at all. We found we could reinstall 90+% of the pins without having to pick up a track pliers! So here it is now ready for you.
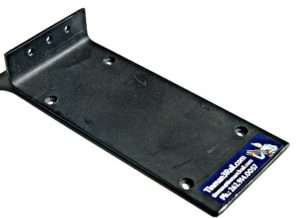
Pin Removal Jig
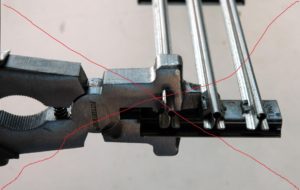
To make the job even easier, we came up with the idea of using a bolt cutter where we cut off the sharp cutting edges. The advantage is that whatever force you put on this new pliers, is doubled at the joes, so it makes holding the old pins a breeze! Our new tool shown here is a little too big for small hands, thus we still offer just the jig. If you have fairly big hands, you will really like this combo, so here it is! ready for your use.
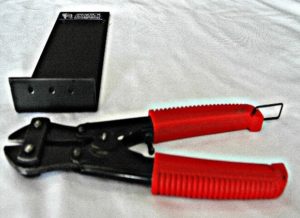
Pin Removal Jig + Pliers